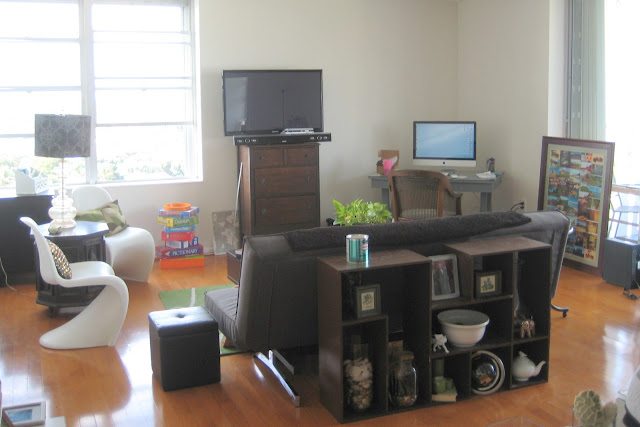
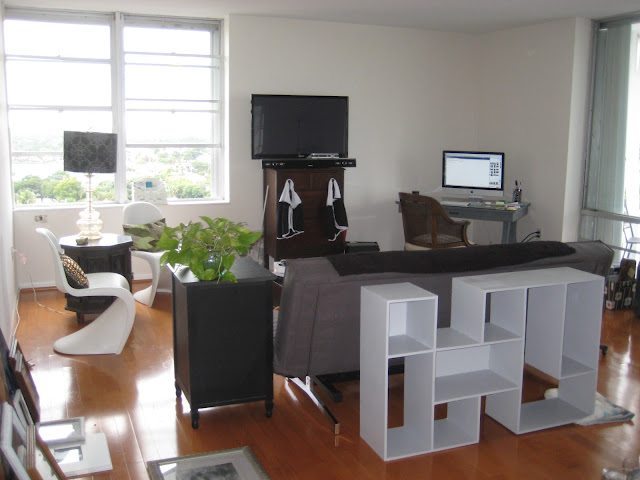
360 was brown and ugly and hiding in my closet for 3 years… she was an good amazing shoe/ clothing storage system. The new closet does not lends itself well for 360 (it’s the long skinny kind). With no shelves in the living room (the A-town condo had lots), it seemed like a good time to give her a more prominent location in the house, and after all, I made it with my own 2 hands!
There are a lot of nooks and cranny’s in this thing. I had to rotate to sand it properly. I even got to re live my sucky brown paint job from 3 years ago 🙂
It did this in some spots. I just sanded until it felt smooth to the touch and paint wasn’t flaking.
I flipped it around to paint the tops of the cubbies…
After it dried, I lightly steel wooled the entire thing. I wanted to it be smooth and pretty.
In between coats you can wrap up your brush in a plastic bag, and put it in the fridge for a couple hours. So you don’t have to clean your brush in between coats!
Before you put the paint away, make sure and fill any holes. I just use my wall filler stuff. It seems to work fine. There is legit wood filler, but I don’t have any. After you fill them, paint over ’em.
 |
||||
| [source] |
It certainly needed another coat, but I was not in love with this either.
I decided to cut my loses and paint it back gray. Another disaster struck 🙂 The yellow and brown paint was peeling up! I was scared it was going to pull up the gray paint on the sides of the cubby so I used an Xacto to score the paint line between the yellow and gray. It was surprisingly easy to pull up the paint with my fingers.
Have you ever had paint do this before? I think it has something to do with humid air? I had my doors and windows open in the apartment and the air was moist.
Vaccumed out the paint, and repainted gray.
I ended up hanging pictures inside of the cubbies. I like it. I’m so done with this thing.
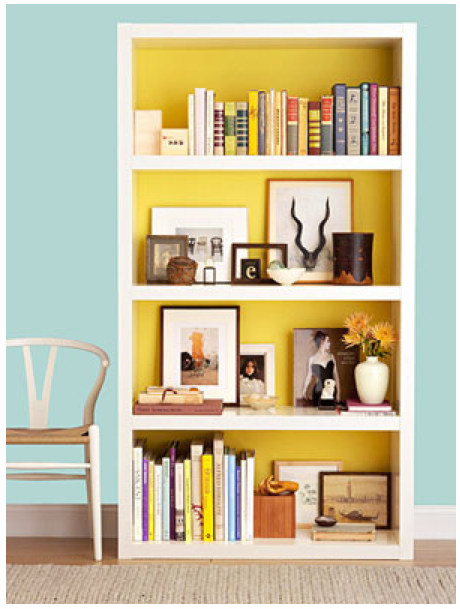
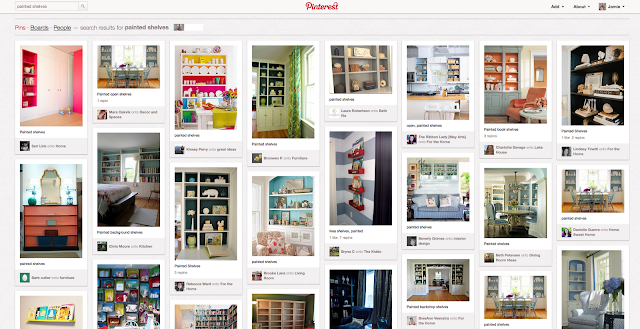
- It was not cohesive. There were only 3 backs that could be painted versus painting the backs of all of the cubbies like in my inspiration picture.
- The cubbies are small and too deep.
Check out what it happening on wall in the background 🙂 Can you guess what it is?
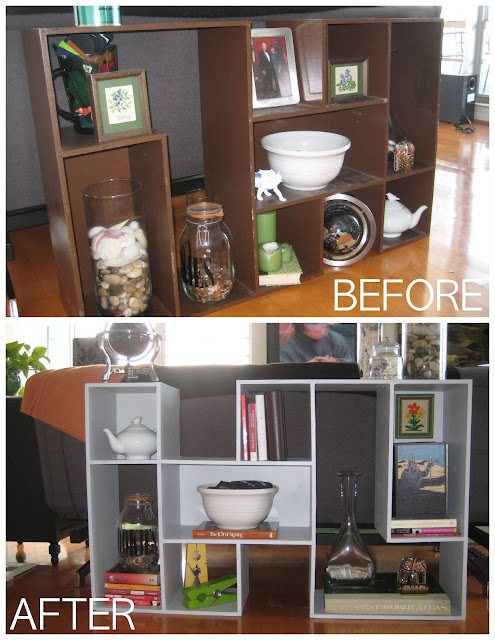
Since before and afters are the best part anyway… here’s one more good look:
Have you ever repainted a piece of furniture? Awhile back I spray painted this desk gray too. Have you ever thought you had a genius idea, and then it turns into a waste of time? What do you think of the painting the backs of shelves trend? I’d love to hear…







Comments & Reviews
Thanks! I probably have 2 fails for every one good crafty thing 🙂 Practice makes perfect!
Do you get free paint?! Bc that would be awesome! I'm so bad with typos. Thanks for letting me know 🙂 I think I fixed them all! I can't spell the brand name wrong!
Tell your BF his paint rocks 🙂
Looks great! I'd love for you to stop by http://www.natural-nester.blogspot.com and link up to our Naturally-Nifty party. It just opened today!
Since my maiden name was "Glidden" I just have to tease you about your typos!
You did a great job on this! I agree that the backs of the shelves needed to stay gray. If all the cubes were backed, it would look uniform, but the backs look coordinated this way.
Great post!
Melissa Glidden Richardson
I think it turned out really cute! I've started doing posts called "Things I've learned" about all of my colossal fails. I'm going to post soon about this really time-consuming rug that I finished making, and then put it in the dryer and it was completely shredded. I guess we learn something from it, right? Haha!
madeonmain.blogspot.com
i like what you did with the storage system, it looks so clean and modern with the new paint color. and love that you gave a shout out to glidden. my bf actually works for the company so i love to see people that use the paint.
xoxo
natalie