PART 2: Building the drawer organizer
In case you missed part 1 on how to get rid of all of the crap in the junk drawer!
Materials:
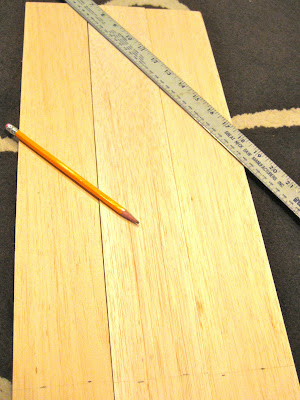
- Balsa Wood
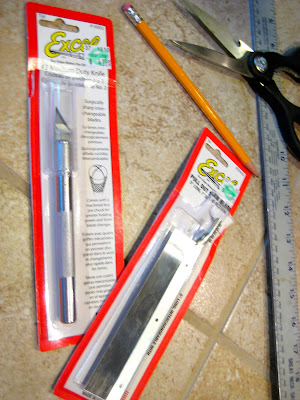
- excel blade
- excel mini saw
- pencil
- yard stick
- sand paper
- balsa wood
We ended up using 2 pieces of this…it happened to be 50% off at Hobby Lobby!
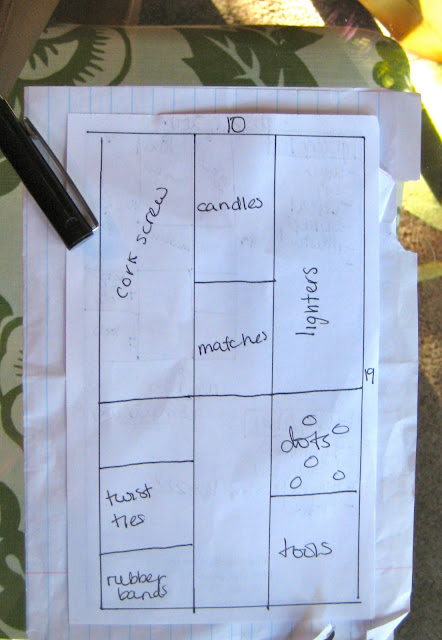
Remember my plan for the drawer:
Well, it changed a tad. When making/ building/ crafting things… flexibility is key!
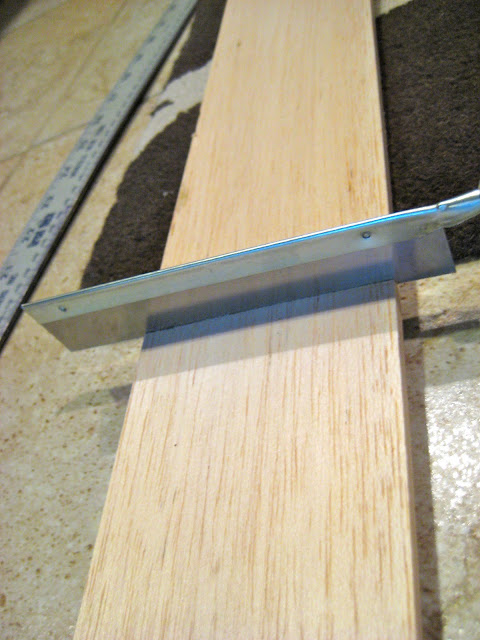
Measure the length of your drawer. Mine was 19in. Use your tiny saw to cute your balsa wood to the right length. As you can see above, I am cutting on the kitchen floor, using the rug as my saw horse. TIP: don’t apply too much pressure to the saw, use it more like a bread knife.
It is better for the piece to be too big then too small. A tiny bit of sanding goes a long way with balsa wood.
The 2 long pieces are wedged in. The one on the right was a tiny bit too short…not to worry…
I found these little plastic feet in my junk drawer and stuck them on to create the perfect fit!
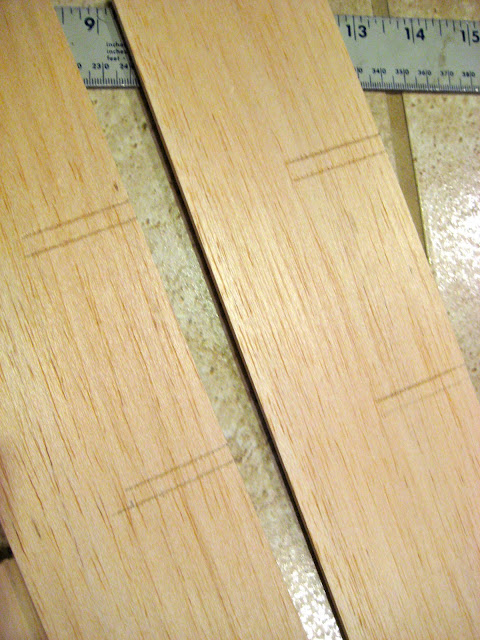
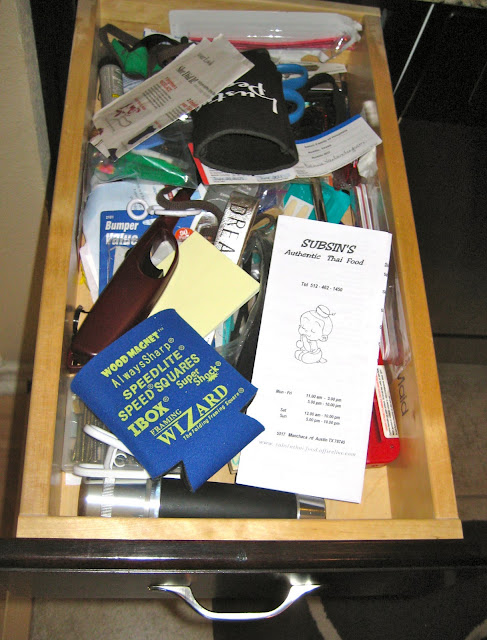
Our balsa wood is 3″ wide… so we cut 1.5″ slits in the horizontal and vertical pieces… the pieces fit together like a puzzle piece. Just for fun, here is the before one more time:
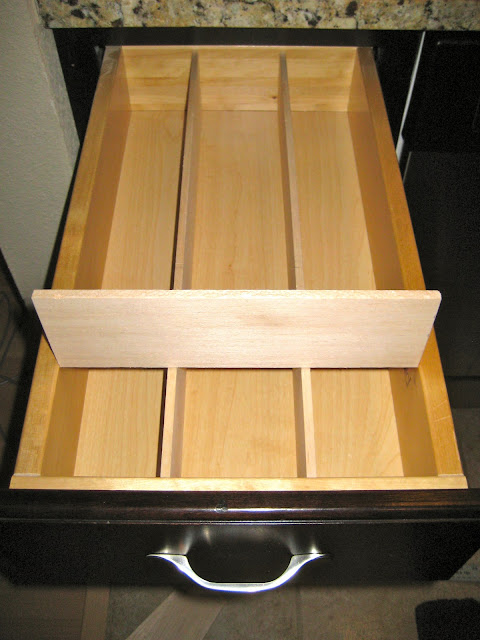
And here is the marvelously delicious after:
Here’s a fancy version of the drawer with no stuff!

Hallelujah, I can find things, and everything has a home. Once again, getting rid of the clutter and trash in teh drawer was tricky. Here is that post. Do you have a drawer that is dirving you nuts? Have you made any other type of DIY drawer organizers I’d love to hear…



Comments & Reviews
Oh, Wow! It looks amazing! Thank you for sharing. You are one of the fan favorites at the Sunday Showcase from the Make it Pretty Monday party at The Dedicated House. Here is the link so you can check out your feature. Hope to see you tomorrow at the bash! Toodles, Kathryn @TheDedicatedHouse
Where have you been all of my life?! What a great DIY and tutorial. Ashamed to say I have a drawer like the “before”. Thank you very much for joining in the celebration of #purebloglove, we enjoy having you each week. I hope to see you on Thursday at 8PM, EST through Sunday night. ~Cydnee
Awesome idea! This looks so amazing. Pinned and tweeted. We love to party with you, so I hope to see you tonight at 7 pm.. Have an amazing day! Lou Lou Girls
This is an AWESOME idea! Thanks for sharing your great tutorial with us at #FoodieFriDIY! Sharing!
I love this idea and I can do it! I have many drawers that could use this. Thank you for sharing on Show Me Saturday!
This is such a great way to customize a drawer, especially if the drawer is an irregular size or shape and won’t fit pre-made trays or organizers. I never would have attempted it without a tutorial though so thank you for sharing yours! Also, thanks for linking up at This Is How We Roll Thursday. I hope you continue to come back and share your great ideas!
What a fantastic idea! I am going to do this right away–I never thought to use balsa wood and it’s so easy to work with! Genius!
This is awesome! It looks great and is so much more customizable and less expensive than a cheapie store bought one! Great job!
You’re dividers look awesome! I bought some hobby wood at The Home Depot, but I struggled with the slit cuttings. Any chances you can explain how you did that in more detail (which tools did you use…)?