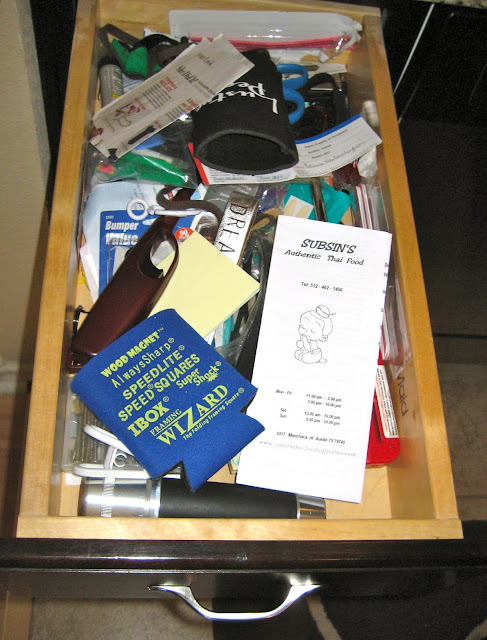
#1: Take out all of the stuff. Be amazed at how much stuff can fit in a single drawer!
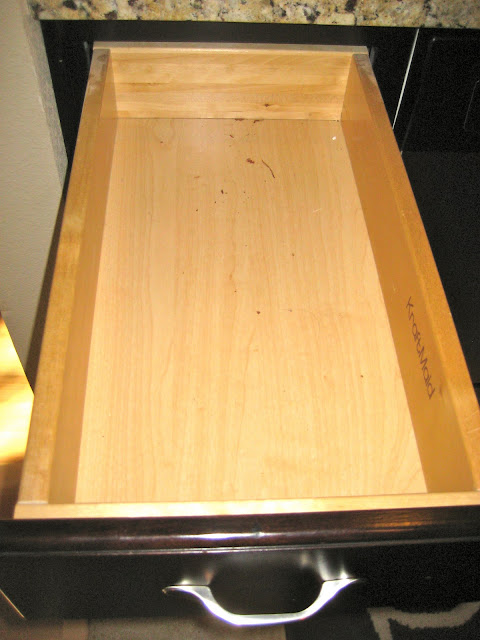
#2: Be grossed out by the dirt and crust at the bottom of your drawer, then proceed to clean it with a damp cloth.
Here is what the BF and his friend do while I clean.
#3: Throw everything into a heap on the floor.
#4: Make piles of similar objects.
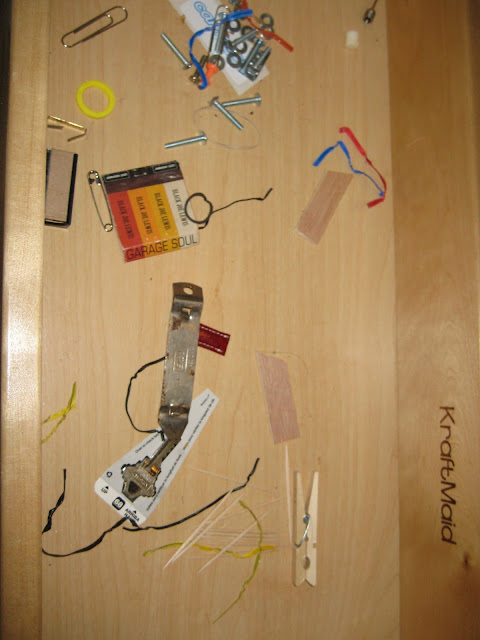
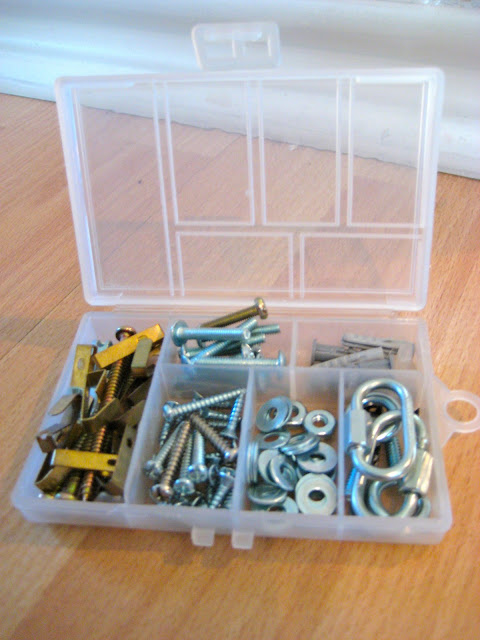
#5: Organize everything in the drawer including little things like this:
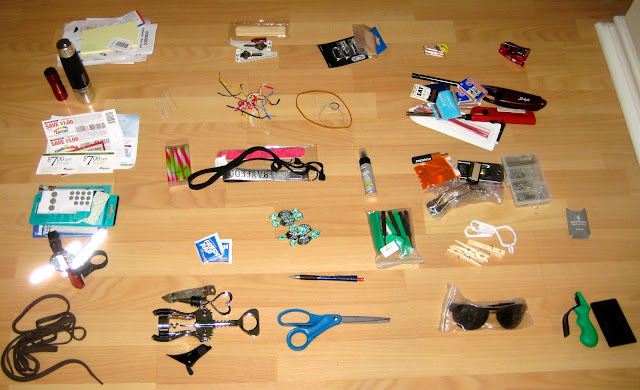
#6: Eliminate trash first. Go through the papers, throw away expired coupons and if you don’t know what it is…throw it away. These are the piles of keepers. The top row is potential craft supplies that are not allowed back in the drawer.
#7: Throw away the trash. This is hard at first, but very rewarding as you get into throwing stuff out!
#8: Create 10 piles or less, again combining similar objects. Take things out of bulky packages and throw them away! Trash pile at the bottom.
#10: Draw up a simple blueprint of your ideal drawer.
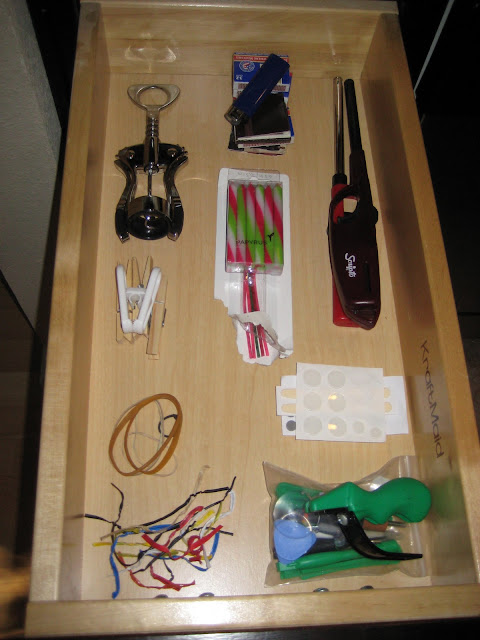
Here is a sneak peak for Part 2:



Comments & Reviews
This is a FABULOUS idea, I love it, and it became my project for tomorrow! Thanks for sharing!!
Please, please tell me you are coming back with a tutorial on how to make those drawer dividers. I need it! For real. Great makeover and steps!
that looks beautiful at the end.
Is it sad that I got excited seeing the finished product? haha …great job!
Wow… yes that does look familiar but my drawer has much more stuff in it! I think I will organize 1 drawer a week to get started. I love your idea!
Oh how I love a good clean and organized space! I'm a bit neurotic when it comes to this sort of stuff I guess but I did some early spring cleaning just the other day and felt great afterward… Now there's a junk drawer in my kitchen just waiting to be cleaned like this one!