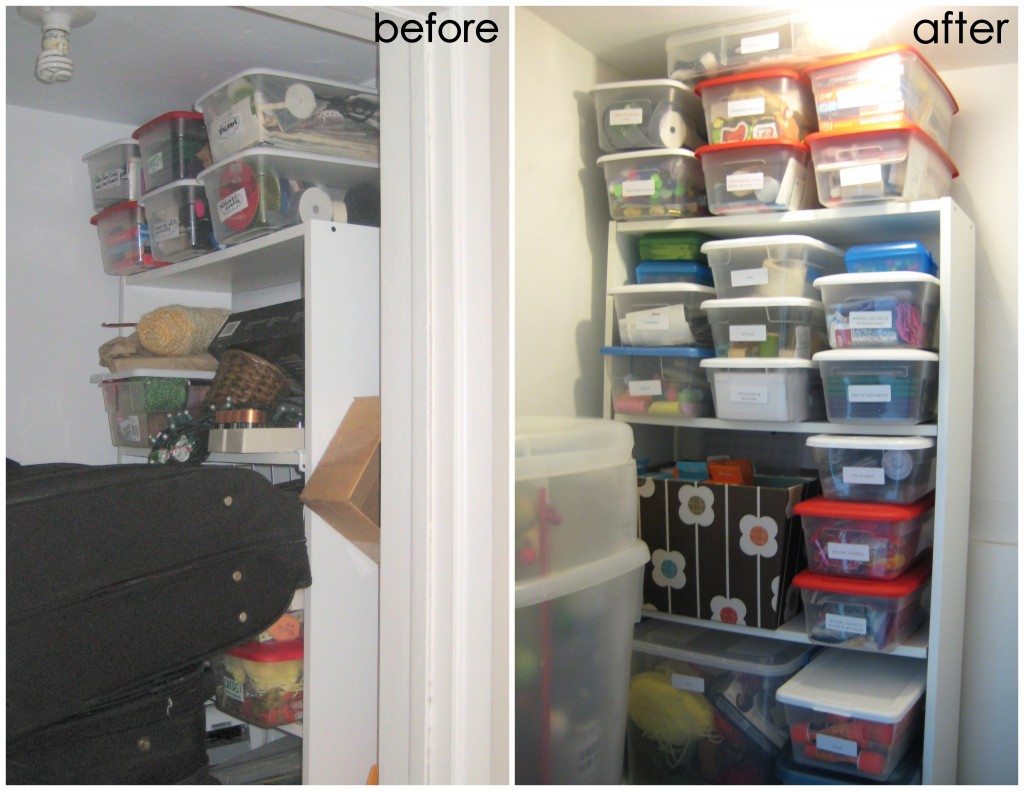
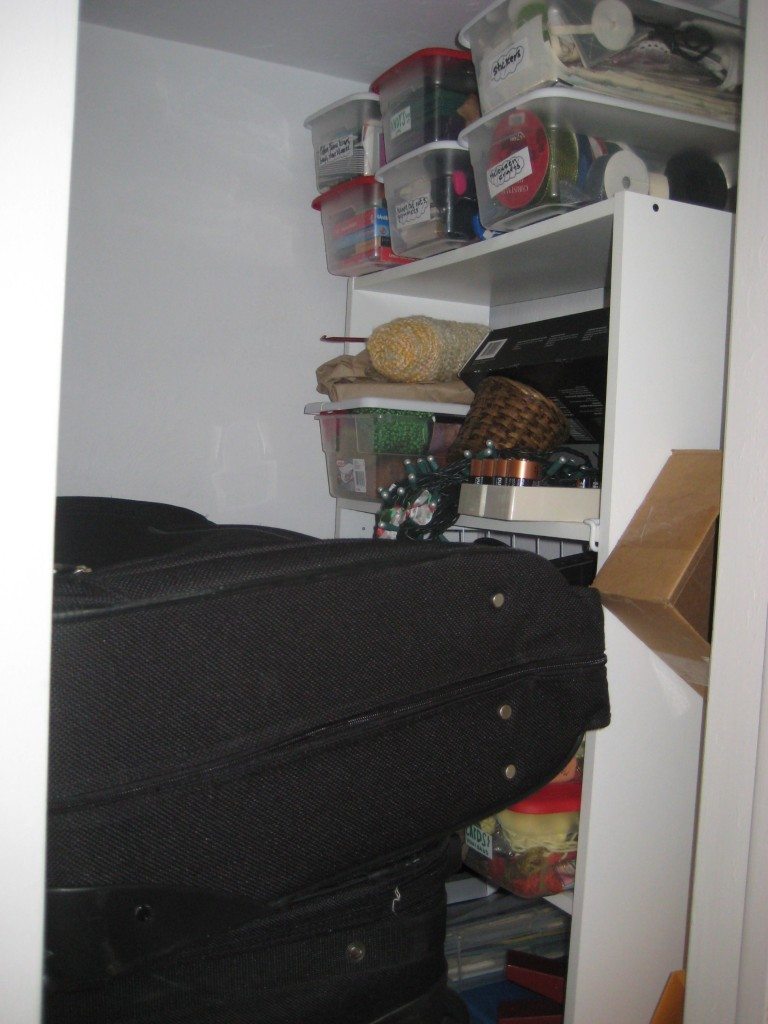
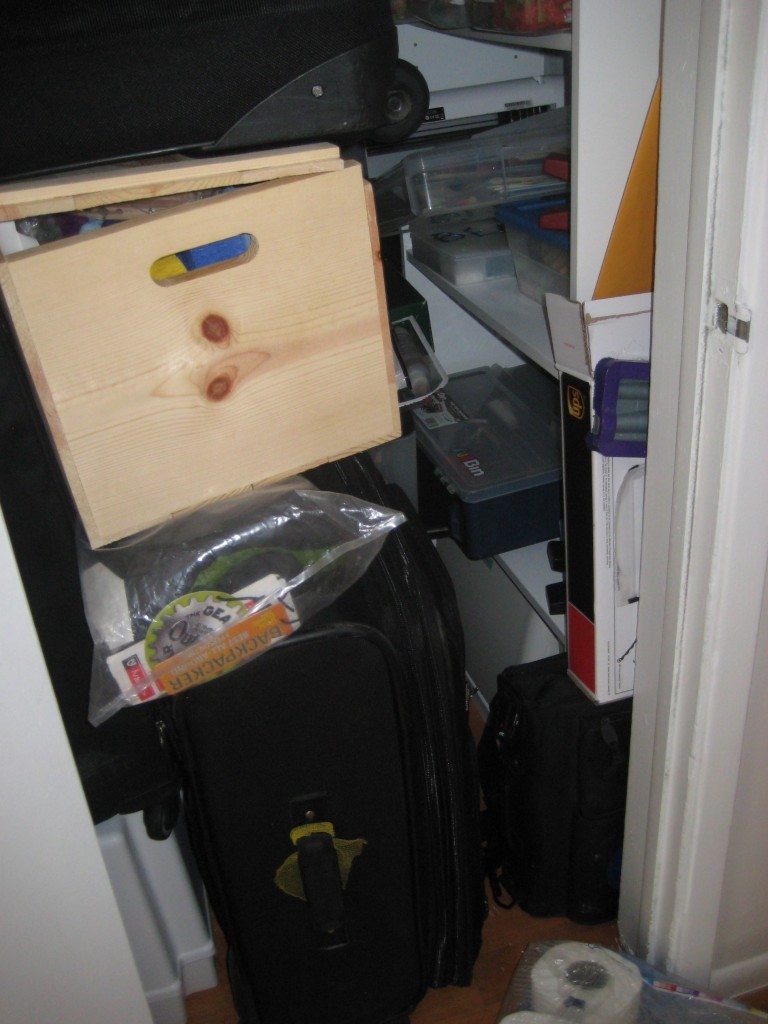
My craft supplies was out of control. Seriously, my current craft closet was an avalanche waiting to happen… a major safety hazard! The straw that broke the camels back and made me clean it up was when my Silhouette fell from the top shelf on to my head while I was bending over digging for mod podge. Geez la weez. I’m too embarrassed to start the post off with just a before… ha! So, here is a before and after side by side…
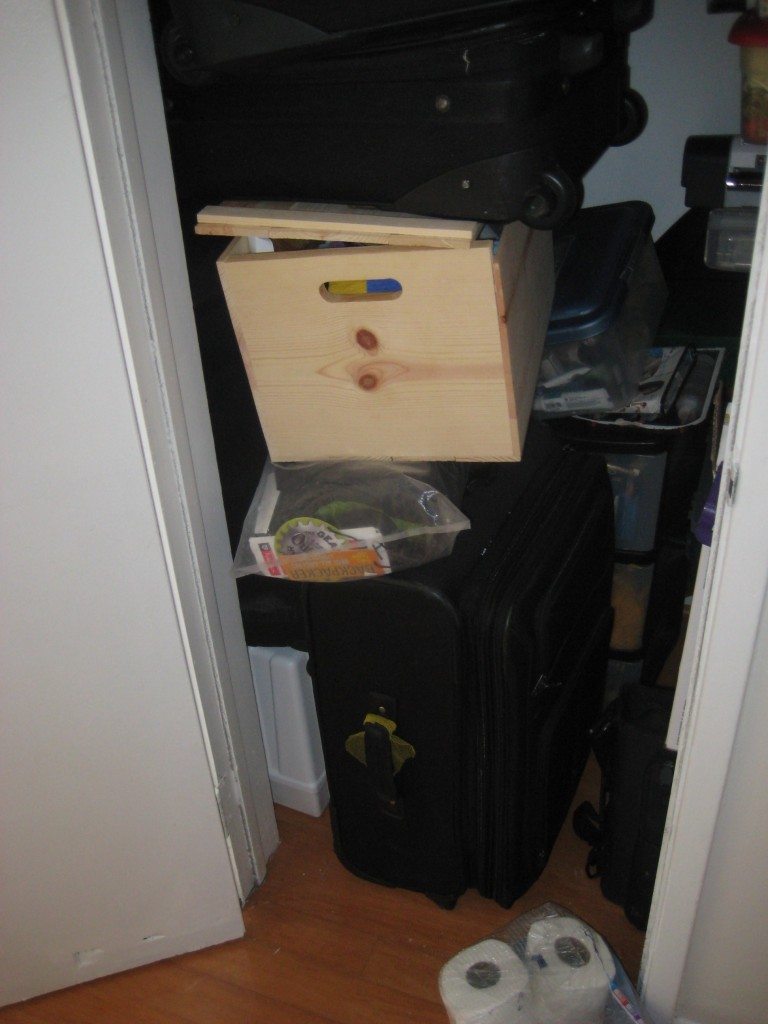
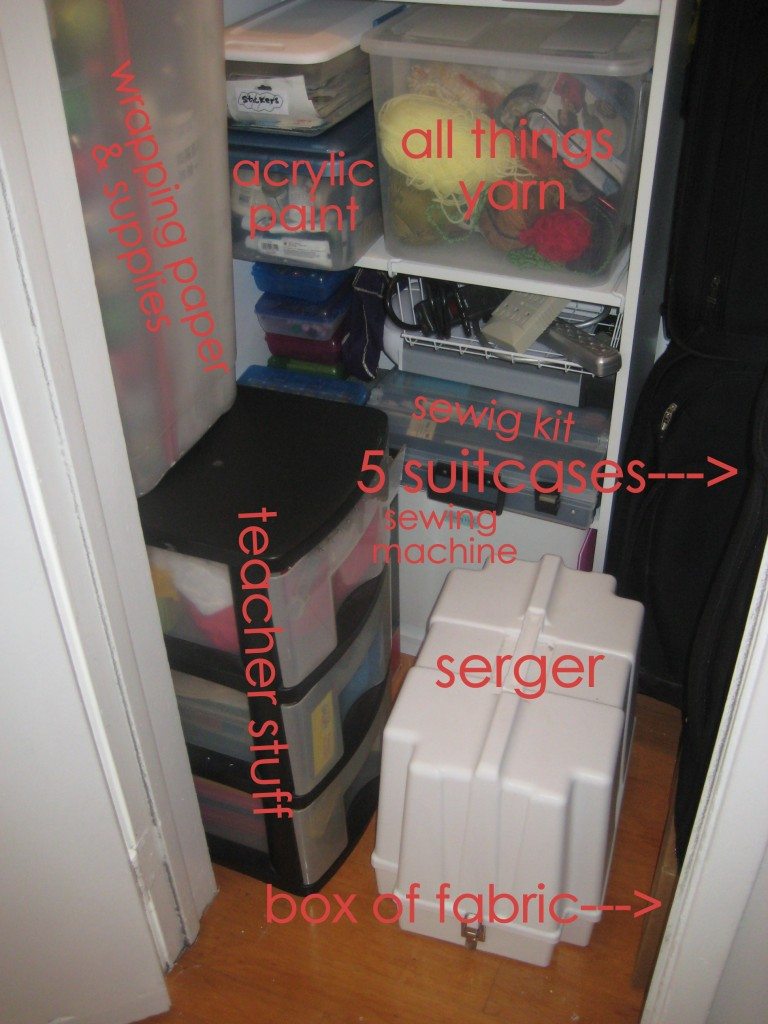
When I moved, I threw the old white craft shelf in the closet and literally piled on whatever randoms I couldn’t find a home. Basically, that consisted of the entire craft room in our Austin house… Suitcases, wrapping paper, sewing and serger machines, scrapbook stuff. Oh yea, and all of my teacher stuff too, since that used to be in my classroom! We had a 2 bedroom in Austin, and I called the second bedroom the MP (multi purpose) room. It was a guest/office/ craft room all in one. Now in a one bedroom in the sunshine state, the office/ guest room combo is right smack dab in the middle of the living room. I like the desk in the living room, and since the old couch wouldn’t fit in the elevator, we are super happy we had the handy dandy futon to throw in the new living room. Here is lots more on the Austin MP room. This picture sums up half of what got crammed into a closet in Florida…
Here is the avalanche zone. I opened the door to snap a few pics, and the toilet paper fell on me. I even shoved packing supplies in between the wall and the shelf.
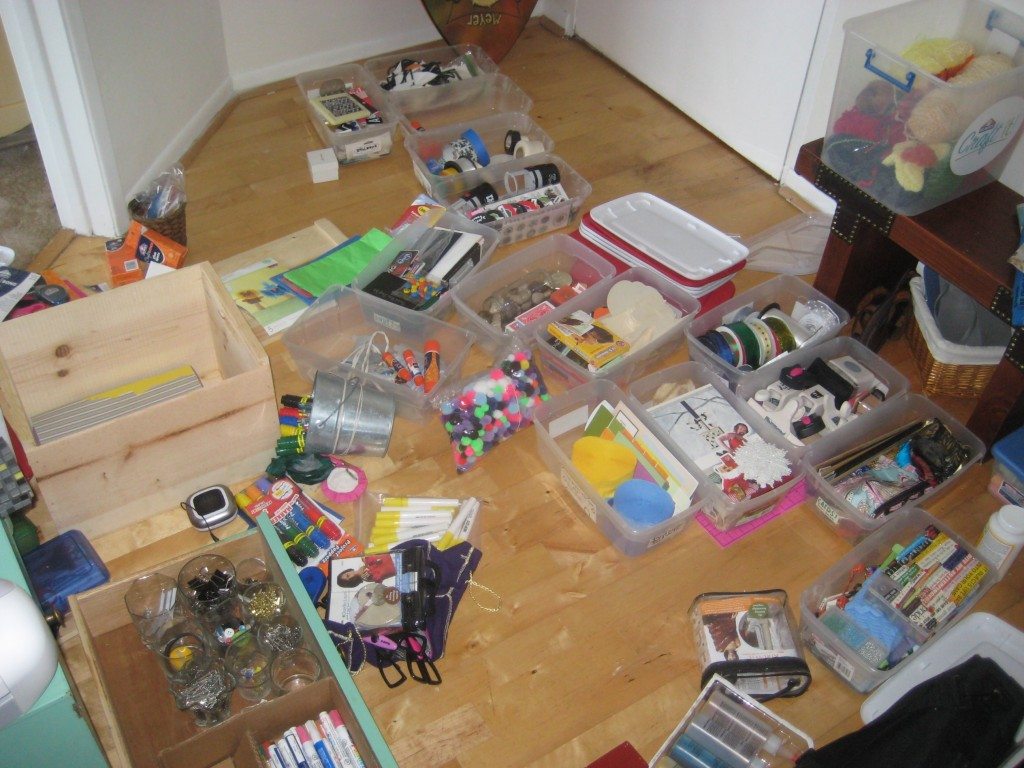
To get this disaster area under control I used clear plastic, shoe boxes from the dollar store to organize stickers, scrap fabrics, glue, paint, tissue paper, stamps, rhinestones, map pencils, etc… I already had 12 or so and I bought 4 more. Call me a freak show, but I actually really enjoy organizing. (junk drawer, under kitchen sink, laundry room) It’s a giant logic puzzle that ends in a tetris game. This is everything minus the big items (5 suitcases, sewing machines, tent, wrapping paper container). I threw away a few things, but not much.
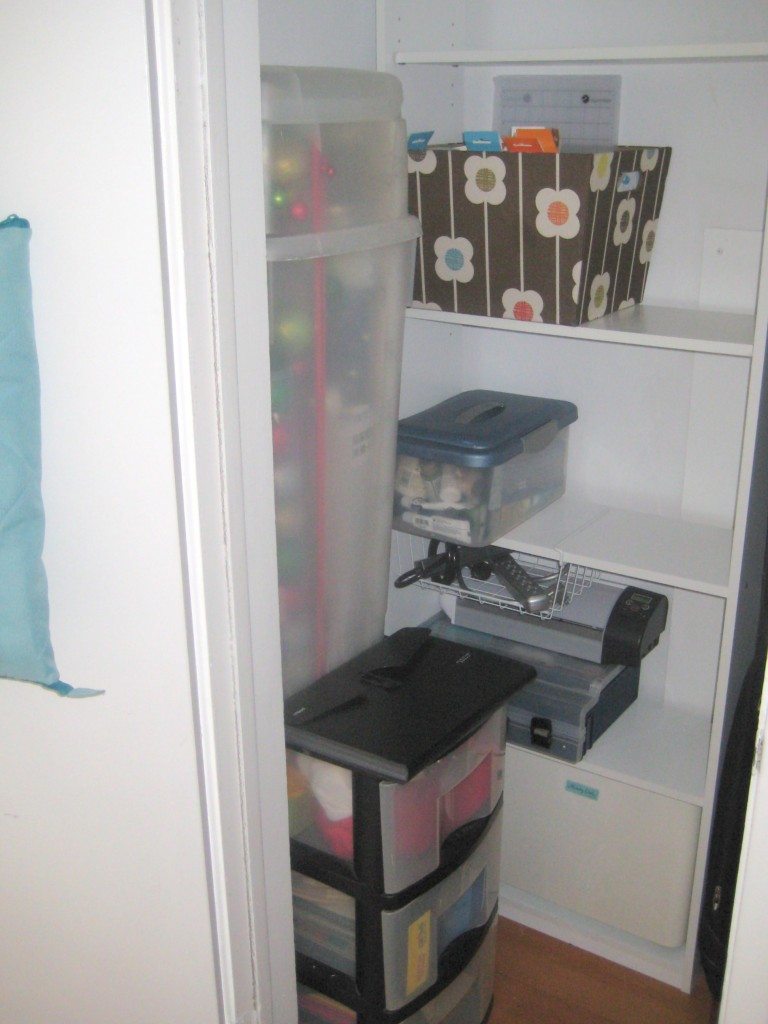
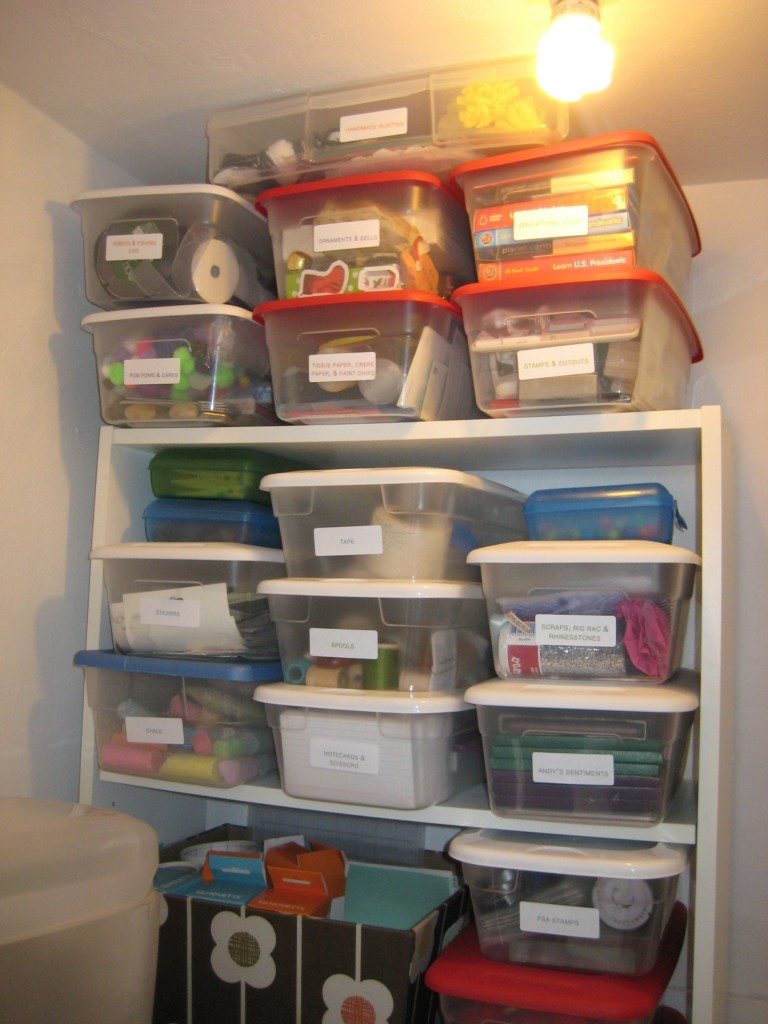
This took a good couple of hours, and then I started rearranging the closet. I moved the white craft shelf to the other wall. That way when you open the door everything can be seen easily. The 3 drawer plastic thing holds most of my teacher stuff. The brown flower container now houses all things silhouette. The 2 big suitcases fit perfectly between the shelf and the wall and I stuffed the 2 carry on suitcases inside of the big guys. The 5th suitcase is one of those hanger clothes bag thing.
Then I started filling in the holes with my clear plastic boxes…
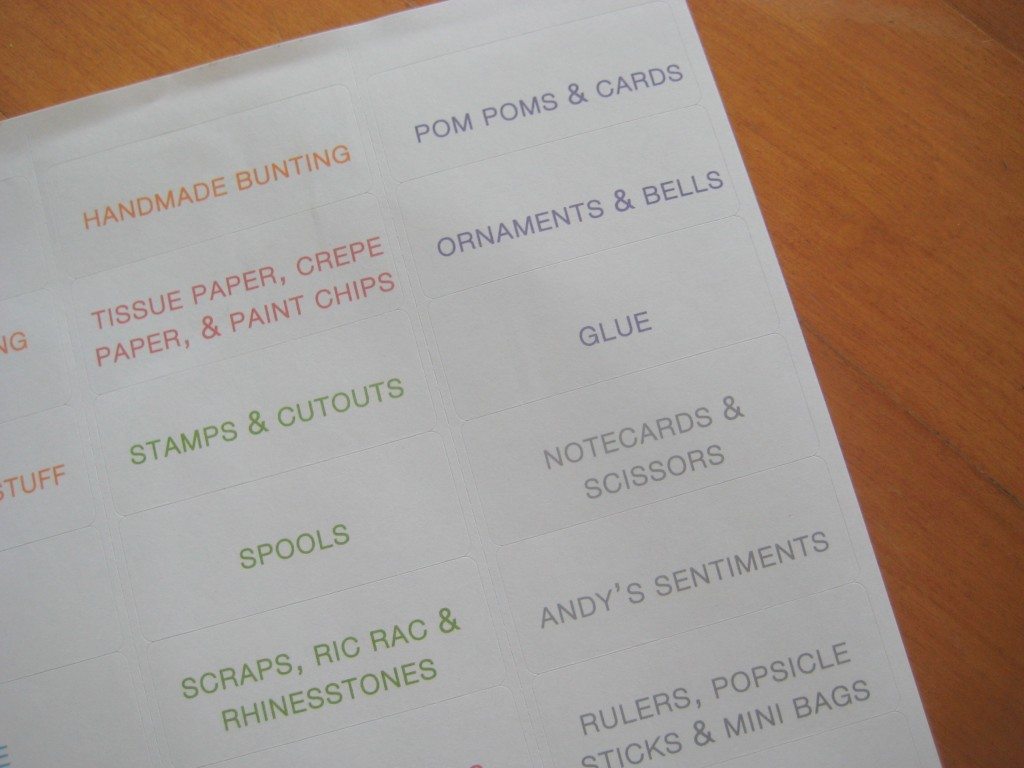
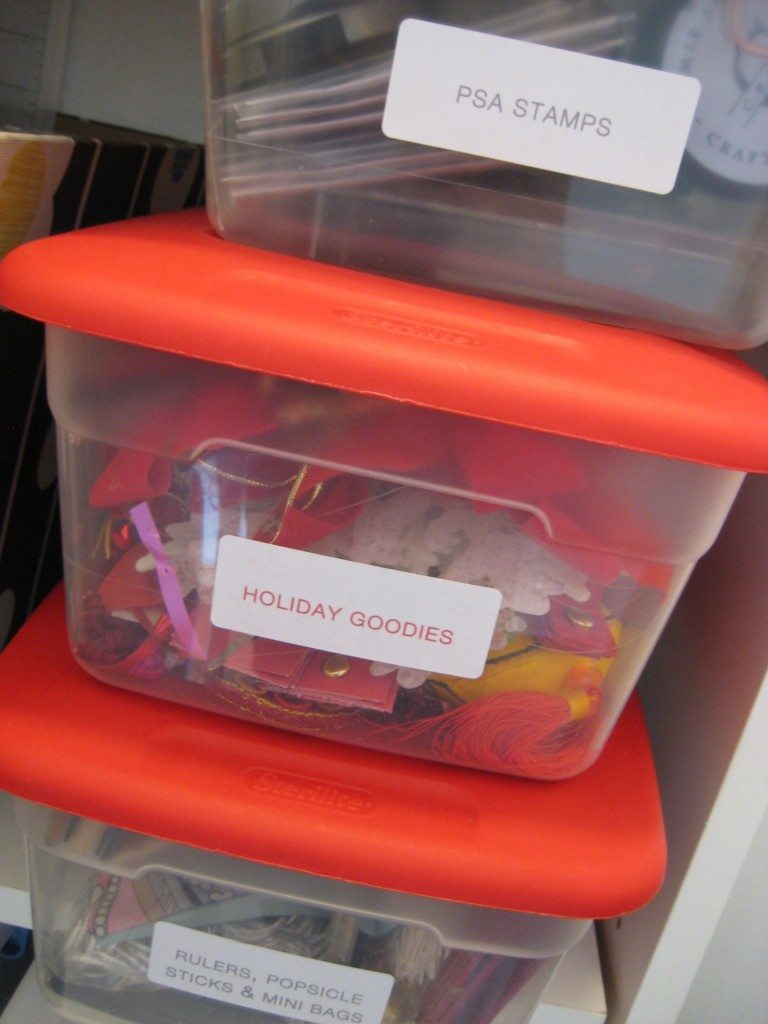
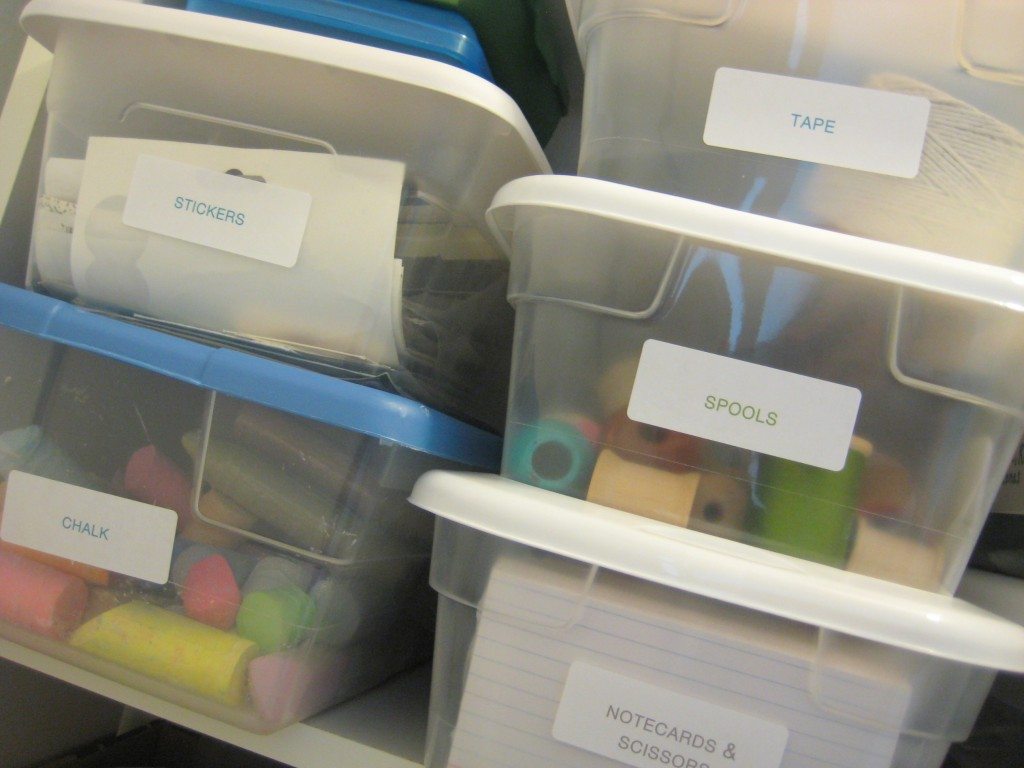
The final thing to make this closet usable was to make labels so I knew where I put all the stuff. I printed out adhesive mailing labels with corresponding titles. I was very specific. Andy even got a box labeled “Andy’s Sentiments” (it’s is coin collection and boy scout badges). I had these labels left over from my diy business cards I made last year (see more about cereal box business cards).
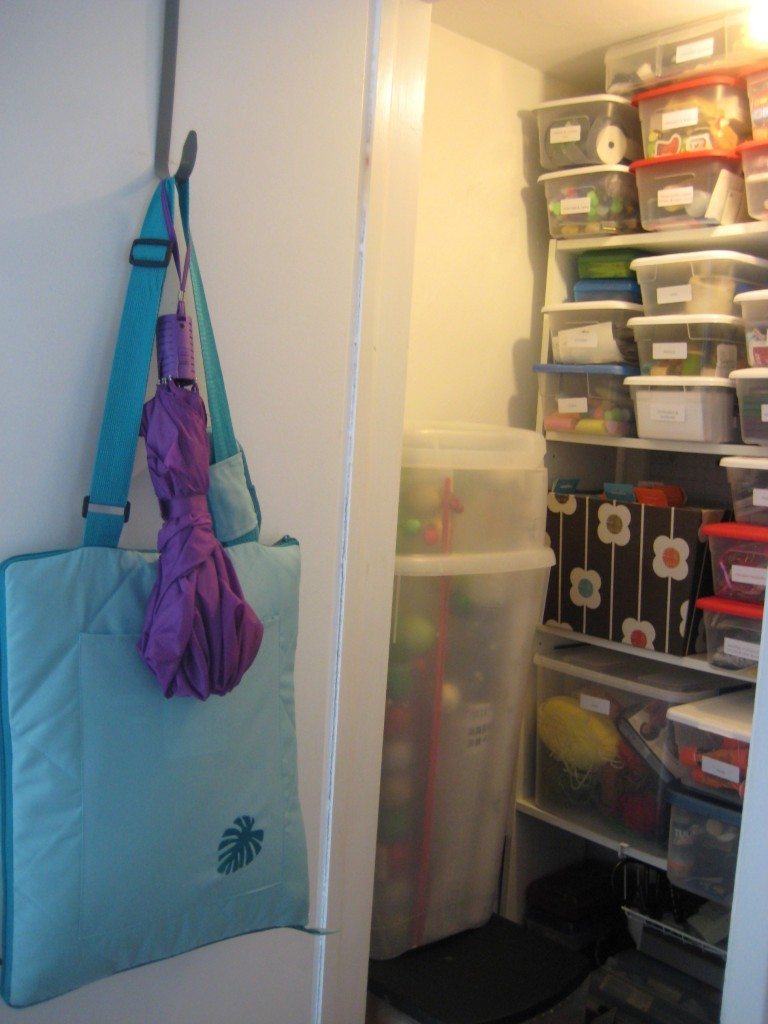
One last thing, I found a wreath hanger in the disaster area and decided to use it to hang up whatever could hang. The umbrella and our beach picnic blanket hang perfectly and both have easy access!
Finding mod podge is not a 30-minute task anymore, and I’m safe to open the craft closet door as often as I want! Hallelujah. it may not be cute, but it is super functional! Do you have any closet disasters happening in your house?

Comments & Reviews
I love organization posts! Everything looks so great! You can tell that your hard work really paid off. And I love your use of mailing labels. It seems like so many people think they need a label maker for things like this, but really…I loved that you used what you already had. LOVE it girl! 🙂
Your ‘finished’ product looks awesome! Those clear bins are great since you can still see everything that is stored within them + the label of course! I have one large tub where I store my ‘excess’ crafting supplies, and then I made a peg board organizer that stores my more frequently used things in our office. You’ve inspired me to pick up a few smaller bins to get even more organized thanks! Heres a link to my craft pegboard if you want to see what I mean: http://justawhimsicalworld.blogspot.com/2012/07/organize-it-craft-pegboard.html
oh my goodness, i’m in the process of doing something similar here. and what a mess i have. yours looks wonderfully organized and i like the way you labeled your containers!
it’s not perfect! but, certainly an improvement! good luck 🙂
I know you’re going to love your new system, Jamie. Everything looks so neat and organized. Last year I took a few days organizing all my crafting items and it made such a difference. Not only is everything less cluttered but I’m able to find exactly what I need and know right away if I have an item or not.
It makes crafting so much easier to know where stuff is…ha!
This is amazing! I’m always so messy. I just have a studio table in my apartment and my side compared to my boyfriends side is a complete mess. He did buy me an amazing little shelving system for all my beads and things, I think it’s for nuts and bolts originally. The transparent bins are a great idea!