Earth day is everyday in my book and today we’re leanring how to make a DIY sandbox out of a recycled tire and a door knob. This project is also a check off of the ol’ to do list. (Maxwell needed a sandbox.)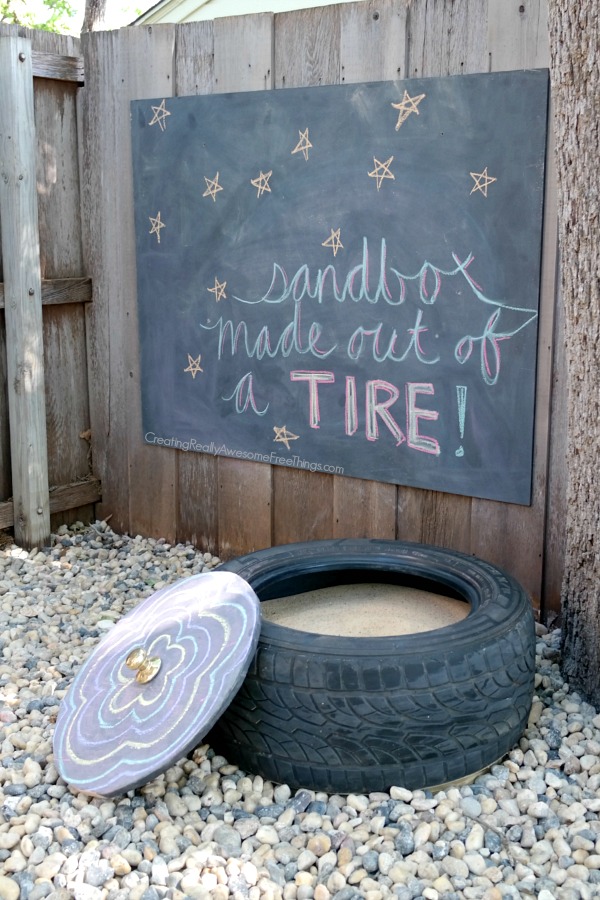
Here’s what you need to make a tire sandbox
- A tire (I used a 22 inch diameter tire.)
- Treated plywood
- A circular saw
- Drill and screws
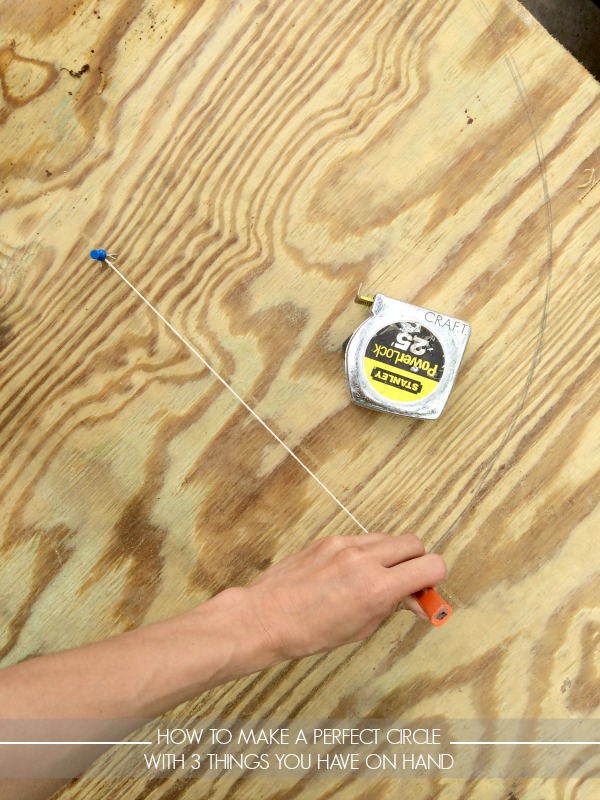
- A compass (Or my DIY version that includes a thumb tack, sting, and pencil.)
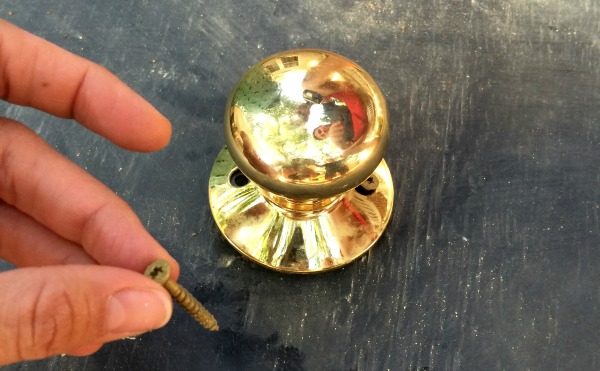
- Door knob (We had an old one hanging out in our garage.)
- Chalkboard paint
- Chalk
- Sandbox sand
- Dremel (to cut off part of the door knob.)
How to make a DIY tire sandbox
The DIY sandbox was one of those if you give a mouse a cookie projects that inspired us to get our backyard well, usable. And more kid friendly. (We did this project at the same time we did the vertical planter and rocks!) Ultimately, we decided to give the mud pit of a backyard a proper makeover.
Step 1- Draw a circle
First, determine how big of a circle you need for the base of your sandbox by measuring the tire’s diameter. Then, draw the right size circle onto your wood and cut it out with the saw. The DIY compass is super simple. Just measure a piece of string 2 inches longer than you actually need it and tie one end to the thumbtack and one end to the pencil. Voila.
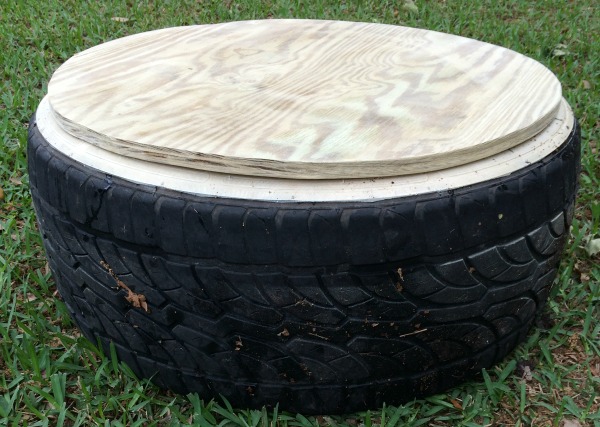
Step 2- Cut out circle
Next, use a circular saw to cut out the circle. After you circle is cut, you will need to sand the edges down to make it smooth. Oh and make sure your circle fits on the bottom nicely!
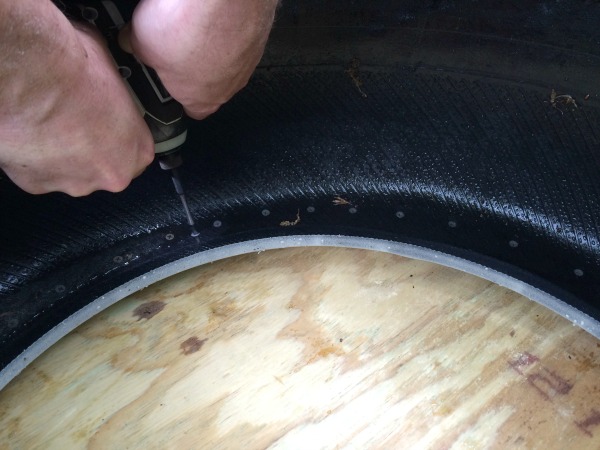
Step 3- Attach the bottom
Next, use a drill to attach the wood circle with every inch or two. Andy drilled in screws about every inch. (I don’t think that’s necessary!)
Step 4- Make a top for the DIY sandbox
After the bottom is cut out, you will need to do the same thing for the top of the sandbox. You can skip this step if your sandbox is under cover. But, we have a lot of stray cats that hang out in our backyard so we are attempting to avoid our sandbox turning into a litter box.

Step 5- Attach a handle
After you sand and paint the top of the sandbox with chalkboard paint, just screw in the door knob! Check out this post if you need deets about painting and conditioning chalkboard paint. Andy used the Dremel to cut the 2 long prongs off of the door knob so that he could attach it to the top of the sandbox.
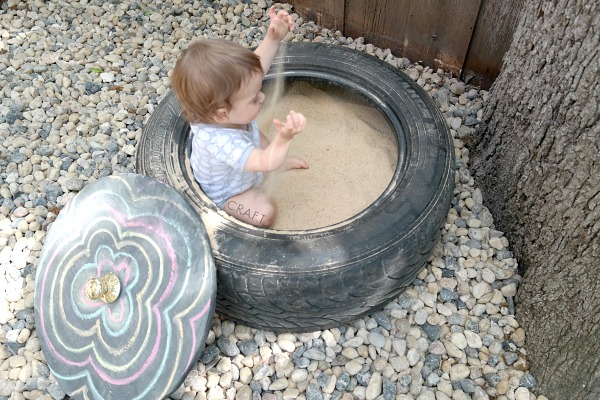
And here’s what Max thinks about his new to him DIY sandbox! Just a little sand between the fingers and the toes. He’s obsessed.
 If you enjoyed this up-cycling article, don’t miss:

Comments & Reviews
No yard? I remember my mom filled a huge (but kinda shallow) plastic tub with mixed, uncooked BEANS! We LOVED it! Sorting, filling, pouring, sifting, running threw our fingers… THANK YOU for bringing those good memories back!
How fun is that?!
Thanks for sharing at the Inspiration Spotlight party! Pinned, shared. Hope to see you again soon. Great project for this summer for the kids. Thanks for the tutorial.
What a great use of recycled items. Love the cover for your tire sandbox. So cute. Thank you for sharing at Share It One More Time. Cathy
Such a cute idea! I love it!
great recycle project too. love it. Thank you for sharing at the Thursday Favorite Things blog hop xo
This is such a cool idea! Thanks for sharing with us at Mommy Monday!!
XOXO
This is so cute! At first I thought “how is that big enough?” but after seeing him sitting in it I can see it’s perfect! It would be cute to paint the tire a color too, I have two old tires that I painted and stacked on top of each other and then put a piece of glass on the top for an outdoor side table.
Tania
Cute idea Looks so good. Pinned and tweeted. I hope to see you on Monday at 7, we can’t wait to party with you! Lou Lou Girls
This is a GREAT idea! Thanks for sharing at the frugal crafty home linkup!
This is such a cool idea! I love it. Thank you for sharing this at the #SmallVictoriesSundayLinkup!
LOL, Sandbox made of tire!!! Okay, awesome, and #pinned, #turnituptuesday
This is such an amazing idea! It’s perfect size for our campsite….I’ll be putting our handy guy to work this weekend when we open our camper. Love it!
I love this post! This is such a creative post and great use of cardboard materials! Thank you for linking up on “A Little Bird Told Me” Wednesday link up party! You have been featured on Mama’s Happy Hive blog.
Oops! I meant to say a great use of recycled materials! 🙂 This is a wonderful way to use an old tire.
This might just be the cutest sandbox ever! What a great way to upcycle a tire.
~Bonnie
Thank you! xo
This is so cute! Great idea.
So creative! I love this idea. I think my kiddies are a little big now, maybe a tractor tire for them, haha. Thanks for linking up to Snickerdoodle Sunday!
What a cute sandbox idea!
Thanks so much for linking up at #Purebloglove link party! The party starts every Thursday night at 8 p.m. est! It runs through the week end. I’m hosting at http://www.homemadefoodjunkie.com. Can’t wait to see what you bring next Thursday. We love your ideas!
Hi Jamie! Great idea! (And I love how you used your chalkboard to title your project instead of a graphic!) Thanks for linking up at The Handmade Hangout!
Fantastic! Heck, you could make an entirely tire-themed playground with tire swings, etc. Appreciate you bringing these to our Snickerdoodle Sunday link party and I hope you come back this weekend!
Sarah (Sadie Seasongoods)
Great idea! So creative! Thanks for sharing at Thursday Favorite Things. I hope you will join us again this Thursday!
This is tooooo cute! Thanks for sharing!
This is SO cute, Jamie!
Super Cute!
I see old tires all the time. This is a great idea for my Preschool!
This is such a great idea! Thanks for posting. Hello from Tutorials & Tips Link Party.