Here’s what you need:
- foam board (for the cover and back
- maps, wrapping paper
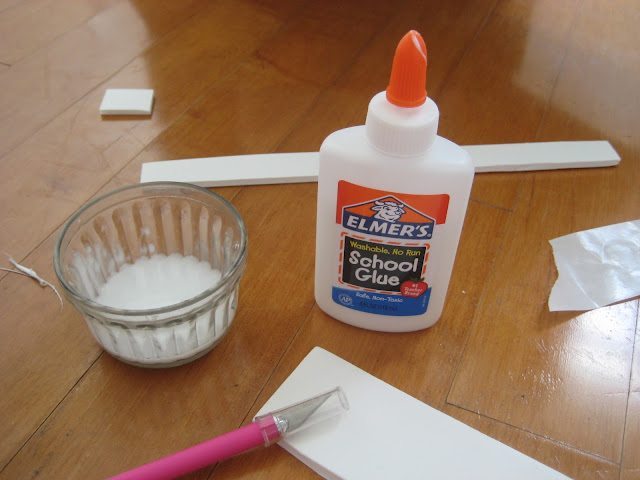
- Mod podge or Elmer’s glue to DIY your own podge
- a paintbrush to apply the paste
- 2 binder rings
- 4 eyelets
- an eyelet tool
- hole punch
- lots of greeting cards
- pretty tape
- glue dots
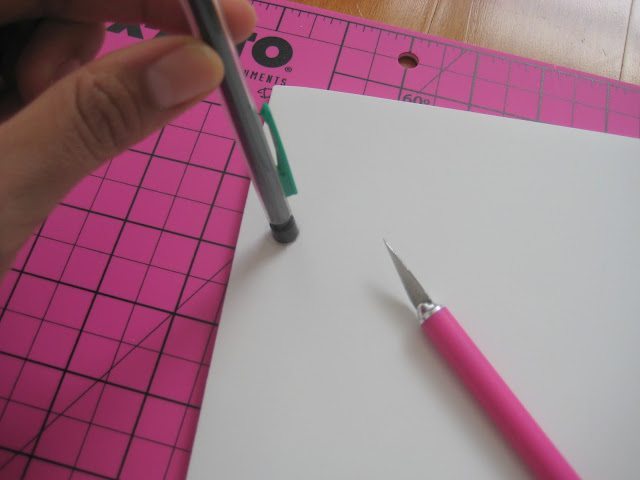
- XACTO to cut out the holes in the foam board for the eyelets
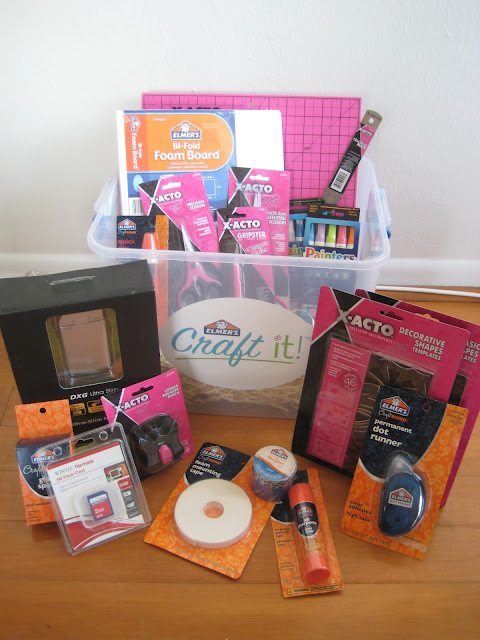
I was not paid, but Elmer’s did send me a few goodies to get my creativity brewing. I choose to make this scrapbook, these shoes, and mini Polaroid fridge magnets with the craft supplies. I’ll probably make lots more things too. those were just the urgent projects!
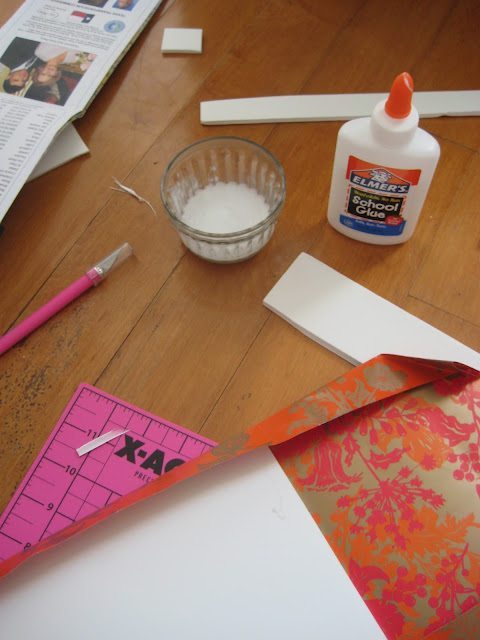
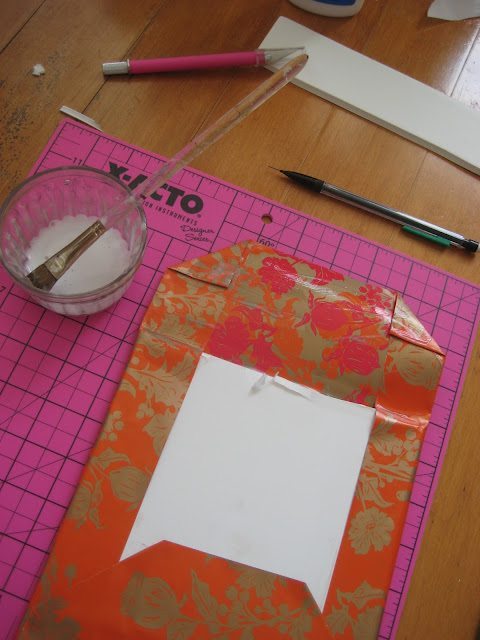
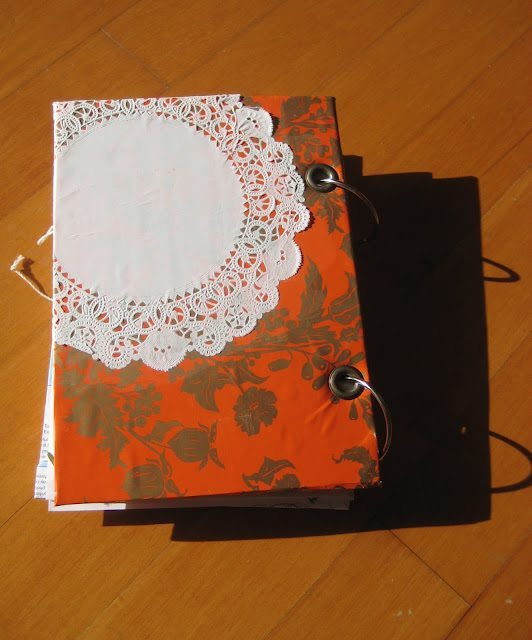
I started wrapping the cover like a present and using my paint brush to brush on the glue paste (AKA home made Mod Podge).
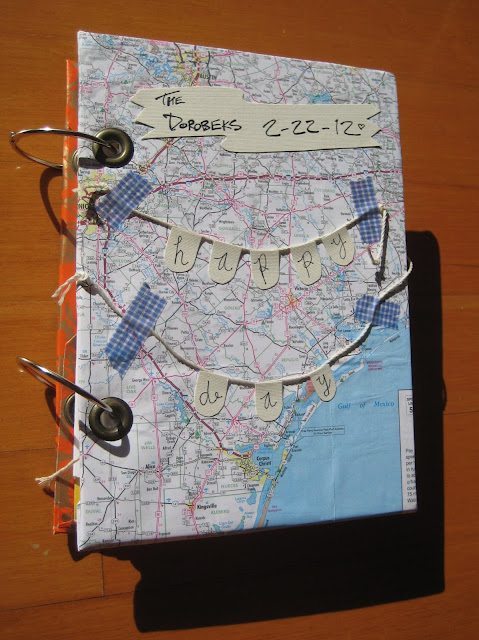
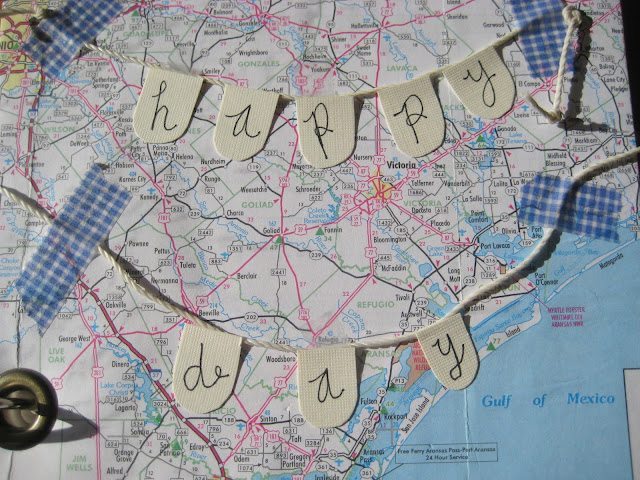
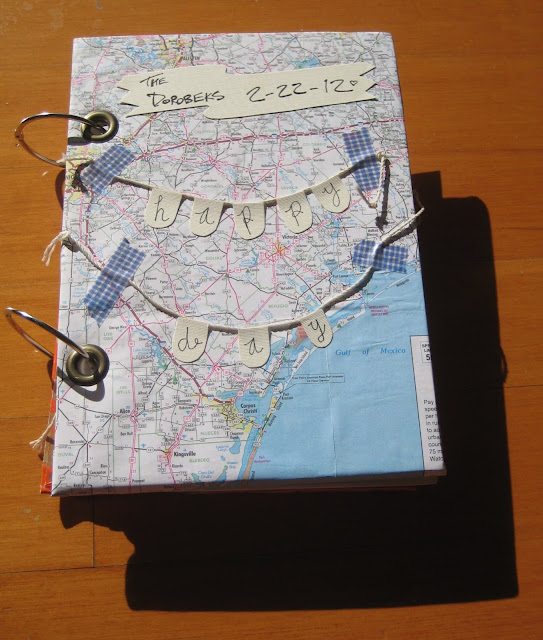
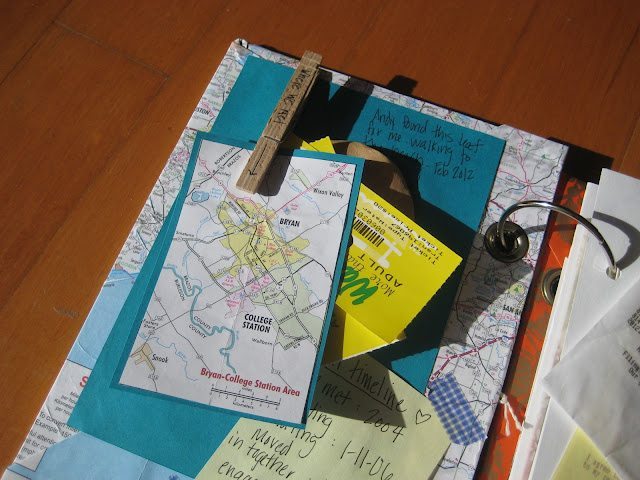
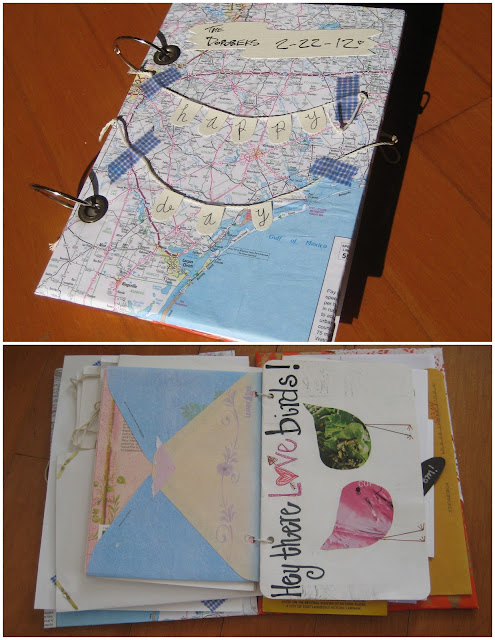
Here’s the wedding scrapbook closeup shot. I used a TX map since that is where we met…
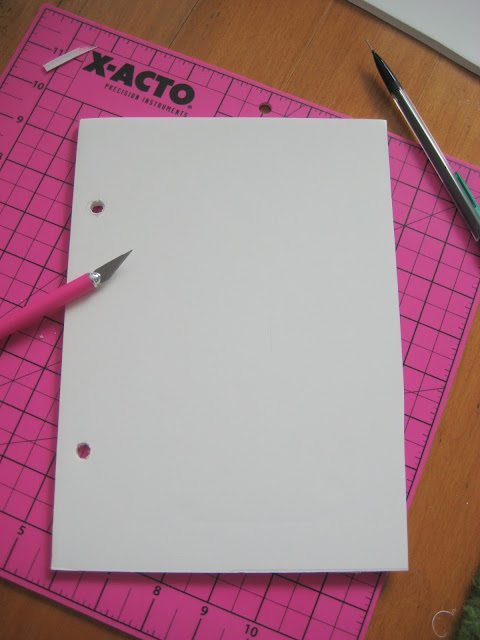
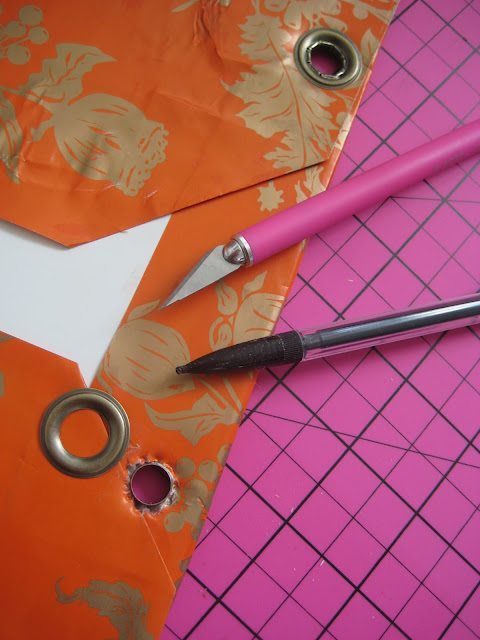
After the foam board is covered, use your eyelet tool to finish up your holes.
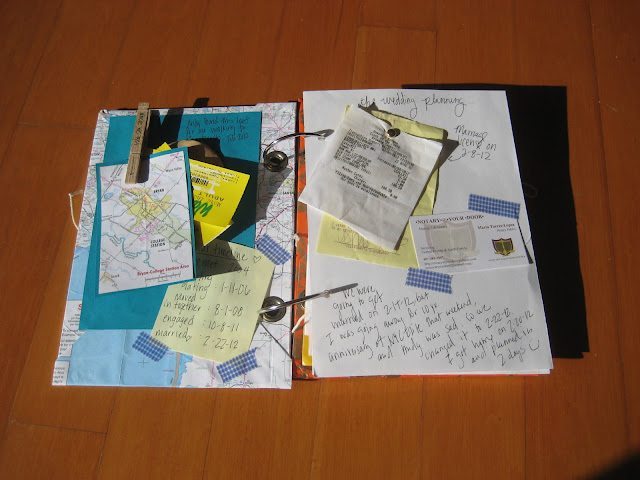
Now it’s time for the inside. I fancied up my inside covers with a clothes pin and a few other goodies… I punched holes in a piece of plain card stock to write and doodle on. I taped receipts and business cards to the piece of paper. Pretty simple…
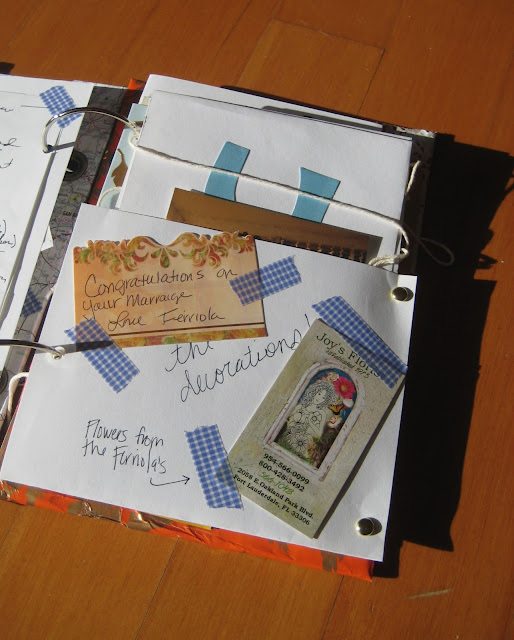
I made a pocket out of a piece of card stock to hold the “Happy Day” sign from our actual wedding day. I attached a few other goodies with fancy tape.
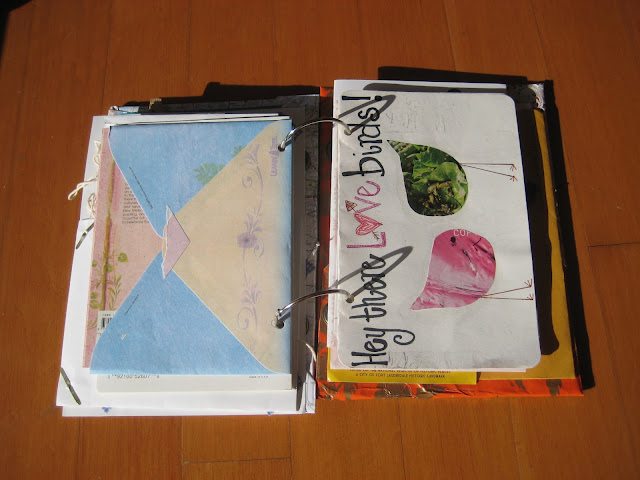
You can even leave the cards in the envelopes if you want…
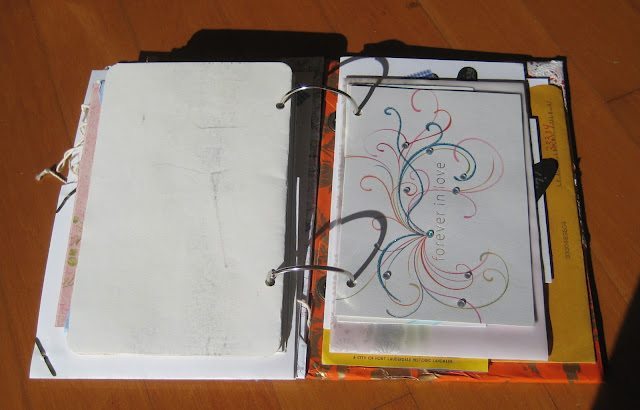
I started hole punching all of our wedding cards and slipping them through the rings.
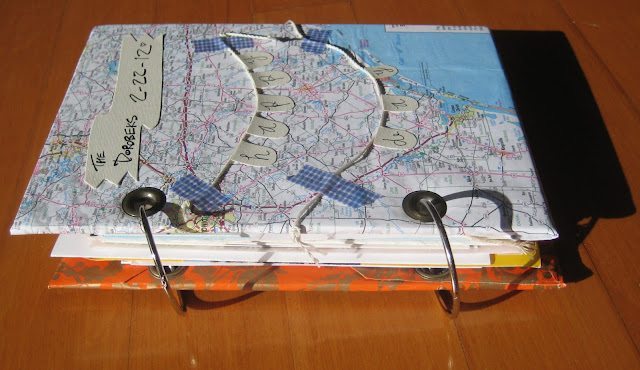
And a side view just because…

Comments & Reviews
I love your ideas!!! I’m getting ready to do this. I’ve gotten all my cards and letters put together by family members and friends and plan to put them together like this. So cool! So much better than in a drawer all in piles.
What a cute scrapbook and I love the idea of using a map for the cover!!
What a sweet binder!
Hello gorgeous! I love seeing your masterpieces.Thank you for bringing such great things to our party. Pinned and tweeted. I hope to see you on Monday at 7 pm.. Lou Lou Girls
I love this! I never know what to do with cards after a while. I never want to throw them away but then they just get shoved somewhere and we never see them again anyway! This is the best idea I have seen for them. Think I’ll be pinning this. Thanks for sharing!
What a creative and fabulous idea Jamie!
I have a tone of cards that I have kept over the years and I’ve binded mine as well, a perfect way to store them!
very impressive!!!
This post is unique, never see like this post, thank a lot for awesome post..
jamie, that's so cute! miss you, friend!
Do it! Do it! It won't take long, promise 🙂 And you'll love it forever!
I bet she would love it 🙂 Thank you!
You CAN do it 🙂 If you didn't make fancy covers it would be even easier!
It's a very good idea and very original! Bravo
Love this idea, adorable and practical for sure! Makes me want to go dig out wedding stuff and do one!
This would be the perfect thing to make for my sister! She just had her baby shower and was wondering what she should do with all the cards. She really wants to keep them but had no idea how to save them. Your scrapbook is awesome!
So cute! Love this way of keeping special memories in one spot!
I LOVE it!! This is my kind of scrapbook!! Now I can do this….maybe it will even get completed or even better, be a work in progress. Thank you for the wonderful idea.
Love it! 🙂 Very practical~