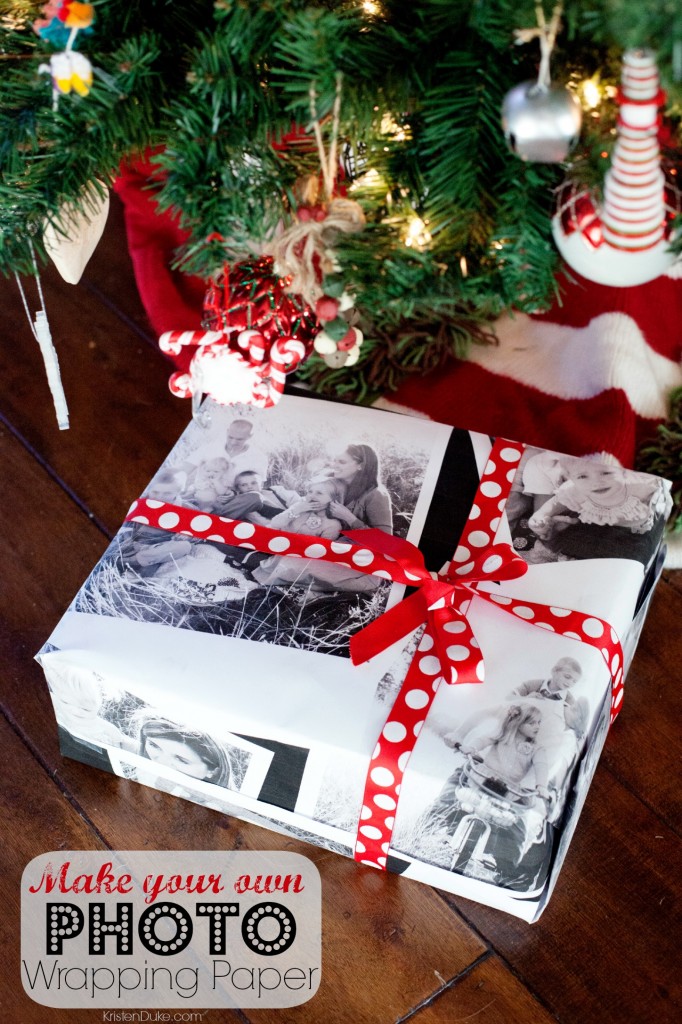
It’s the 3rd day of the Wrap It Up series, all about clever and unusual DIY gift wrap ideas! So far we’ve had dish towel gift wrap, DIY fabric stamped gift wrap, wrapping with a pillow case ideas, fabric scrap bow ties, cupcake liner bows, and now this super awesome DIY photo gift wrap paper!
I’m so delighted to be a guest today on C.R.A.F.T. Jamie lives just “down the street” from me in Austin, and I get to see her occasionally in real life! My name is Kristen Duke, and I share my life and projects over at Capturing Joy. I’m a photographer/lifestyle/food/DIY blogger sharing all sorts of tips in those areas. I’d love you to come visit! Today I’m sharing how to WRAP IT UP with photos!
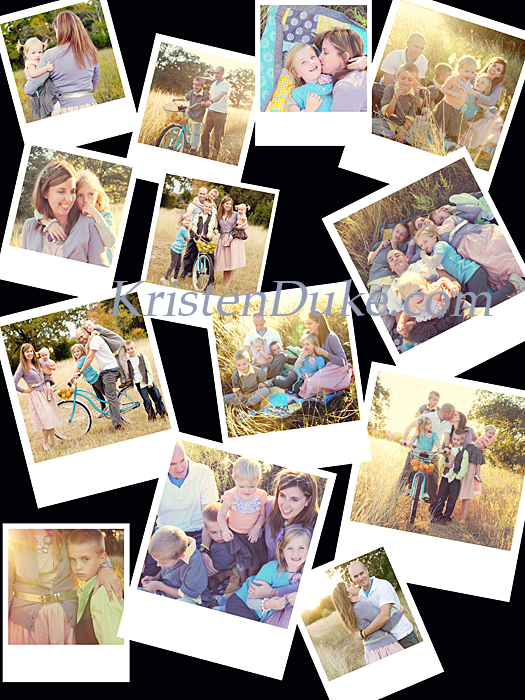
This project can be done with just about any type of picture, I just grabbed some from a family photo shoot we did a while ago. I had already made them to look like imitation polaroids, and you can use the software PicMonkey for most of this, I also use photoshop (basic version works great.)
I remembered reading on my friend Mandy’s blog over at Sugar Bee Crafts her Giant Picture Tutorial for cheap that she printed black and white large photos at her local Staples on architecture/blueprint paper. So I decided to do some investigating. My Staples was too far away (and I don’t plan ahead very well). I first called Office Max, which they confirmed the inexpensive price of the blueprint prints, but if photos were inserted, it would be much more expensive because more ink is used. I tried Office Depot, and sure enough, they were just fine with printing it as I wanted for the fabulous price of $5.50.
I asked them the specific sizing, and made my template in photoshop as 36×48 inches. They said I could make it longer if I wanted, they just charge by the foot. I created a collage, and you can use PicMonkey or Photoshop or any other software to do that, just make sure the big template is big enough to not pixelate the images. {About PicMonkey–I pay $30 a year for their deluxe version, which creates awesome collages and text on picture as seen in my picture above.} If you make a custom size in PicMonkey, they only offer sizing in pixels, and I’m pretty sure that 36×48 converted to pixels is 10800 x 14400. (If this part is confusing, let me know and I’ll do my best to better explain)
So here is the digital version I made on my computer:
I knew it would only print in black and white, and they said it was fine to keep the images in color, so it was one less thing to worry about. In hindsight, I might have added more pictures and made these smaller so more is shown on the package, but I like the way it looks as bigger images, too.
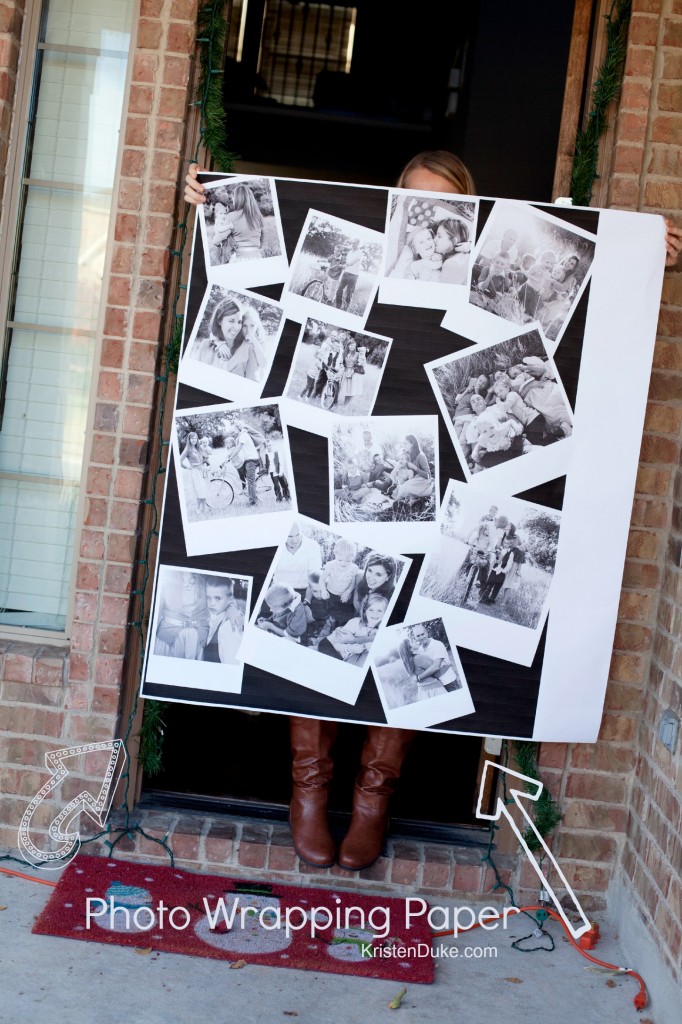
Here is how large the architecture print is next to an adult, I guess I got a few extra inches on the side and didn’t know it!
I love the look of the package wrapped up in the black and white paper with photos, it gives the look of newspaper wrapping a bit, but more personalized. The red ribbon tied around gives a fun POP! I’m not saying you should wrap all your presents this way (thought it’d be pretty darn cool to see a bunch under the tree), but for the special people–or one for each kid, maybe.
I need to get more gifts under my tree! I’d love for you to find me on your favorite social media platform and say hello!
Psst… Here are 11 more creative, ways to wrap gifts with this you have on hand!


Leave A Reply!